

Introduction
Homemade pizza has surged in popularity in recent years, and for good reason. The thrill of crafting your own pizza from scratch offers a sense of accomplishment and creativity that many find irresistible. Whether you’re hosting a casual get-together or enjoying a cozy night in, a freshly baked pizza topped with your favorite ingredients can elevate any meal. However, the secret to truly exceptional pizza lies not just in the toppings but in the foundation: the dough.
A good pizza dough is the backbone of any great pizza. It influences the overall flavor, texture, and even the aroma of the finished product. In this article, we will provide you with a detailed guide on making artisan pizza dough from scratch, ensuring you can create a crust that is not only delightful but also memorable.
Understanding the Basics of Artisan Pizza Dough
Artisan pizza dough is defined by its handcrafted nature and the quality of its ingredients. Unlike mass-produced varieties, artisan dough typically employs traditional techniques and allows for longer fermentation times, resulting in a superior product.
Key Characteristics of Artisan Pizza Dough
1. Flavor: Artisan pizza dough boasts a complex flavor profile, often enhanced by fermentation. The longer the dough ferments, the more developed its taste becomes, resulting in a crust that is both aromatic and flavorful.
2. Texture: One of the defining features of artisan pizza is its texture. A well-made dough should yield a crust that is crispy on the outside while remaining chewy and airy on the inside. This contrast is essential for a satisfying bite.
3. Rise: The rise of artisan pizza dough is achieved through the fermentation of yeast. This process not only contributes to the dough’s flavor but also affects its texture, allowing for the formation of those desirable air pockets.
Importance of Quality Ingredients
To achieve the best results when making artisan pizza dough, the quality of your ingredients cannot be overstated. Each component plays a crucial role in the final product, influencing both flavor and texture. By choosing high-quality ingredients, you set yourself up for success and can create a superior pizza that rivals your favorite pizzeria.
Essential Ingredients for Artisan Pizza Dough
To create the perfect artisan pizza dough, you will need the following essential ingredients:
1. All-Purpose Flour: This is the foundation of your pizza dough. All-purpose flour is preferred due to its balanced protein content, which provides the right amount of gluten for structure without making the dough too tough. For a more authentic Italian experience, consider using “00” flour, which is finely milled and yields an incredibly tender crust.
2. Sea Salt: Salt is vital for flavor enhancement and plays a crucial role in gluten development. It strengthens the dough, allowing it to rise properly and achieve a pleasing texture. Opt for fine sea salt for even distribution throughout the dough.
3. Sugar: While sugar may seem optional, it serves multiple purposes in pizza dough. It enhances yeast activation, promoting a better rise and browning during baking. Additionally, sugar can contribute a subtle sweetness that balances the saltiness of the dough.
4. Active Dry Yeast: The leavening agent is key for achieving a light and airy crust. Active dry yeast must be properly activated to ensure that it functions effectively. This ingredient is responsible for the dough’s rise and flavor development.
5. Warm Water: The temperature of your water is critical for activating the yeast. Ideally, you should use water that is warm but not hot, typically around 110°F (43°C). This temperature helps the yeast thrive without killing it.
6. Extra Virgin Olive Oil: Adding a splash of extra virgin olive oil to your dough not only enhances its flavor but also contributes to moisture retention, resulting in a softer crust. It also helps prevent the dough from sticking during the kneading process.
7. Cornmeal: While not a direct component of the dough, cornmeal is useful for preventing sticking during the baking process. Sprinkling cornmeal on your pizza stone or baking sheet creates a barrier that allows for easy transfer of your pizza into the oven.
Step-by-Step Instructions for Making Artisan Pizza Dough
Now that you have a clear understanding of the ingredients needed for artisan pizza dough, it’s time to roll up your sleeves and get started. Follow these step-by-step instructions to create your own artisan pizza dough from scratch.
Activating the Yeast
The first step in making artisan pizza dough is to activate the yeast. This process is crucial, as it ensures that the yeast is alive and ready to work its magic in the dough.
1. Combine Warm Water and Sugar: In a small bowl, combine about 1/4 cup of warm water (110°F/43°C) with one teaspoon of sugar. The sugar acts as food for the yeast, helping it to activate.
2. Add the Yeast: Sprinkle one packet (2 1/4 teaspoons) of active dry yeast over the warm water and sugar mixture. Allow it to sit for about 5-10 minutes until it becomes foamy. This foamy layer indicates that the yeast is active and ready for use.
Mixing the Dry Ingredients
In a large mixing bowl, you’ll need to combine the dry ingredients to prepare for mixing with the wet ingredients.
1. Combine Flour and Salt: Measure out 4 cups of all-purpose flour and place it in the bowl. Add one and a half teaspoons of sea salt. Use a whisk or a fork to thoroughly combine the flour and salt, ensuring an even distribution.
Combining Ingredients
After your yeast is activated and your dry ingredients are mixed, it’s time to bring everything together.
1. Create a Well: Make a well in the center of the flour mixture. This is where you will pour the yeast mixture and the remaining ingredients.
2. Add Wet Ingredients: Pour the activated yeast mixture into the well, followed by 2 tablespoons of extra virgin olive oil and an additional 1 cup of warm water.
3. Mixing Techniques: Use a wooden spoon or your hands to gradually mix the flour into the wet ingredients, starting from the inner walls of the well. Continue until the dough begins to come together, ensuring all flour is incorporated.
Kneading the Dough
Kneading is a critical step in developing gluten, which gives your dough its structure and chewiness.
1. Transfer to a Floured Surface: Once the dough has formed a cohesive ball, transfer it to a floured surface. Dust the surface with a little extra flour to prevent sticking.
2. Knead by Hand: Begin kneading the dough by pressing it down with the heel of your hand, folding it over, and then turning it a quarter turn. Repeat this process for about 8-10 minutes until the dough is smooth and elastic.
3. Check for Doneness: The dough is ready when it springs back slightly when poked and feels soft but not sticky. If the dough is too sticky, sprinkle a little more flour as needed.
With your artisan pizza dough prepped and kneaded, you’re well on your way to creating delicious homemade pizzas. The next steps involve letting the dough rise and then shaping it into the perfect crust for your culinary creations. Stay tuned for the continuation of this guide, where we will explore the rising process and tips for baking your artisan pizza to perfection.
Importance of Kneading for Gluten Development
Kneading your pizza dough is a crucial step in the dough-making process. It is during this phase that gluten proteins develop, providing the structure and elasticity necessary for your pizza crust. Gluten is a network of proteins that forms when water is mixed with flour and agitated. Proper kneading encourages these proteins to align and form a stretchy, resilient dough that can hold up under the weight of toppings without becoming soggy.
To knead effectively, you can use the classic method of folding and pressing the dough, or you can opt for a stand mixer fitted with a dough hook. Aim for a kneading time of about 8-10 minutes by hand or 5-7 minutes in a mixer on medium speed. The dough should become smooth and elastic, indicating that the gluten has adequately developed.
Signs of Properly Kneaded Dough
How can you tell if your dough is properly kneaded? Look for these indicators:
1. Surface Texture: The dough should be smooth and slightly tacky to the touch, but not overly sticky.
2. Elasticity: When you stretch a small piece of the dough, it should stretch without tearing. This elasticity is a sign that the gluten has developed well.
3. Poke Test: Gently poke the dough with your finger. If it springs back slowly, it’s ready for the first rise. If it stays indented, it may need more kneading.
First Rise
Once you’re satisfied with your kneading, it’s time for the first rise. This step is essential for letting the dough ferment and develop flavor.
Importance of Temperature and Environment for Rising
The ideal environment for your dough to rise is warm and draft-free. A temperature range of 75°F to 80°F (24°C to 27°C) is optimal for yeast activity. If your kitchen is cool, consider placing the dough in an oven that’s turned off but has a light on, which provides gentle warmth. Alternatively, you can place the dough near a heater or wrap it in a warm, damp cloth.
Expected Outcomes After the First Rise
During the first rise, your dough should approximately double in size. This process typically takes about 1 to 2 hours, depending on the ambient temperature. You’ll notice bubbles forming within the dough, indicating that the yeast is actively fermenting and producing carbon dioxide, which is what causes the dough to rise.
Punching Down and Dividing
After the dough has risen, it’s time to punch it down. This does not mean you should literally punch it; rather, you should gently deflate the dough to release excess gas.
Techniques for Deflating the Dough
Use your fingers to gently poke and push down on the dough. This action redistributes the yeast and helps to even out the temperature throughout the dough. It also prevents large air pockets from forming during the second rise.
How to Portion the Dough for Different Sizes
Once the dough is deflated, it’s time to divide it. Depending on how large you want your pizzas, you can cut the dough into different portions. For typical 12-inch pizzas, divide the dough into three equal pieces, weighing about 250 grams each. For larger pizzas, simply adjust the portion size accordingly. Roll each piece into a ball and allow them to rest for a few minutes before the second rise.
Second Rise
The second rise is essential for developing the final texture and flavor of your pizza crust.
Importance of Resting for Texture and Flavor Development
This resting phase allows the gluten to relax, making it easier to shape the dough later. It also enhances the flavor profile of your crust, as the bacteria produced during fermentation continue to develop complex flavors. Allow the dough balls to rise for about 30 minutes to an hour, covered with a damp cloth to prevent drying out.
Preparing to Bake Artisan Pizza
With your dough ready, the next steps involve preparing for the baking process, ensuring that you achieve the perfect artisan pizza.
Preheating the Oven
One of the most crucial aspects of baking artisan pizza is preheating your oven to the highest temperature possible, typically around 475°F to 500°F (245°C to 260°C). This high temperature mimics the conditions of a traditional wood-fired pizza oven, ensuring that your crust becomes crispy while the toppings cook perfectly.
Best Practices for Achieving Optimal Baking Temperature
To ensure that your oven reaches the desired temperature, allow it to preheat for at least 30 minutes. If you’re using a pizza stone, place it in the oven during the preheating phase to absorb the heat. This will help create a crispy bottom crust.
Benefits of Using a Pizza Stone
A pizza stone is beneficial because it retains heat well, allowing for even cooking. When you place your dough on a preheated stone, the heat transfers quickly, resulting in a beautifully baked crust that is crispy on the outside and soft on the inside. If you don’t have a pizza stone, a baking sheet can work, but it may not yield the same level of crispiness.
Shaping the Dough
Now, it’s time to shape your dough into a pizza.
Techniques for Stretching Dough Without Tearing
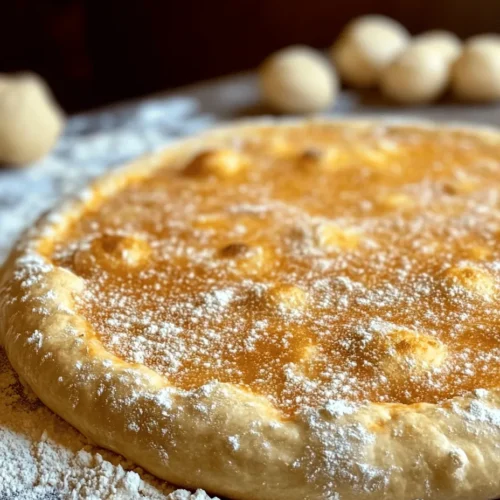
To shape your dough, start by lightly flouring your work surface. Take one of the dough balls and gently flatten it with your fingers, creating a small round disc. Instead of using a rolling pin, which can push out too much air, use your hands to stretch the dough. Hold the edges and rotate gently, letting gravity help in the process. If you notice any tears, simply pinch them together.
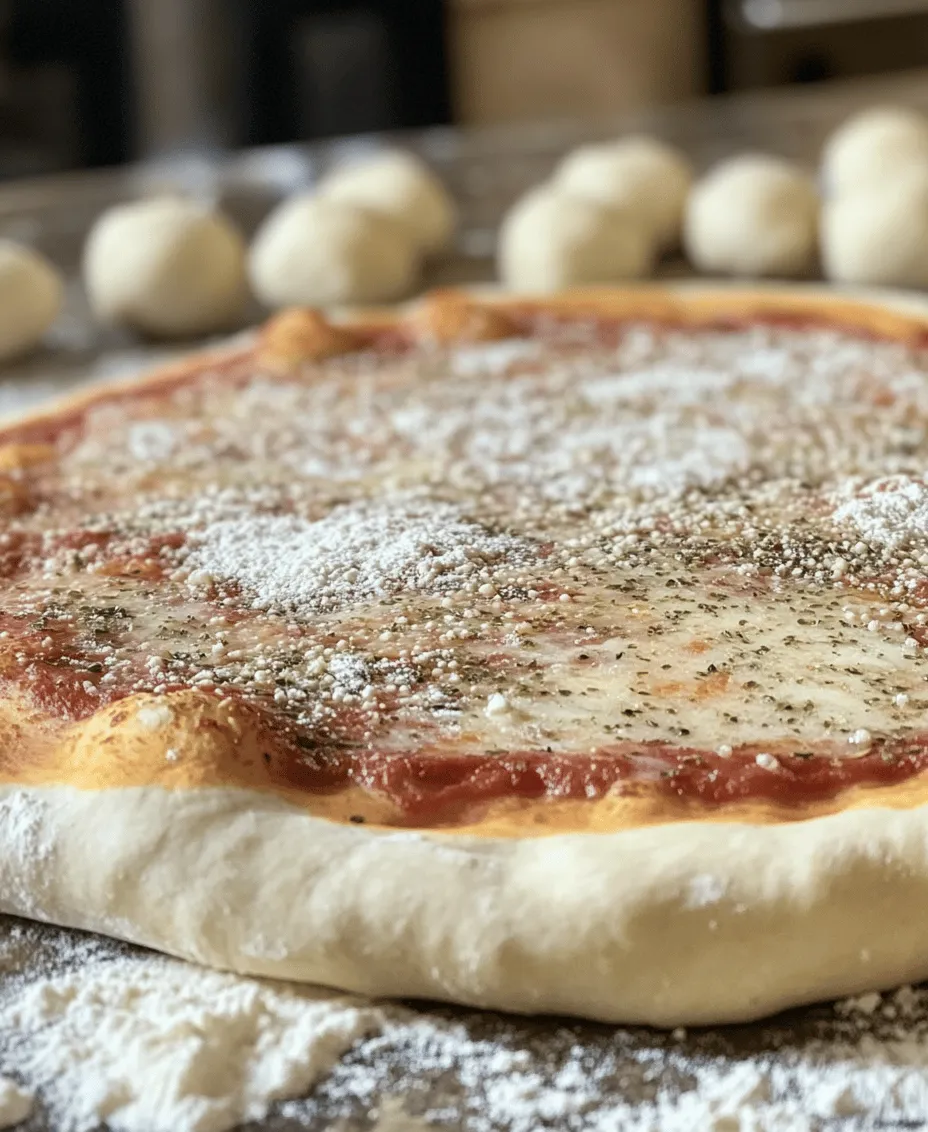
Importance of Leaving a Thicker Edge for the Crust
When shaping your pizza, ensure that you leave a thicker edge, or crust, around the perimeter. This thicker edge will rise beautifully during baking, providing a delightful contrast to the thin, crisp center. Aim for about half an inch of thickness for the edges.
Preparing for Baking
Before placing your pizza in the oven, you’ll want to prepare it properly.
Dusting Techniques with Cornmeal
To prevent sticking, dust your pizza peel or baking sheet with cornmeal. This will create a barrier between the dough and the surface, allowing for easy transfer to the oven and a delightful crunch on the crust. Alternatively, you can use flour, but cornmeal provides a unique texture and flavor.
Tips for Transferring Dough to the Baking Surface
When transferring your shaped dough to the baking surface, be swift but careful. Use a pizza peel to slide the dough onto the preheated pizza stone or baking sheet. If you don’t have a peel, you can carefully roll the dough onto the baking sheet directly.
Baking the Artisan Pizza
At this point, you’re ready to bake your pizza.
Ideal Baking Times and Temperatures
Bake your pizza for about 10 to 12 minutes, depending on your oven’s heat and the thickness of your crust. Keep an eye on it, as baking times may vary.
Recognizing When the Pizza is Done: Visual and Textural Cues
Your pizza is ready when the crust is golden brown and the cheese is bubbling and starting to brown. The bottom should also be crispy. If you’re unsure, you can lift the pizza slightly with a spatula to check the bottom.
Importance of Letting the Pizza Cool Before Slicing
Once your pizza is out of the oven, resist the urge to slice right away. Letting it cool for about 5 minutes allows the cheese to set slightly and makes for cleaner slices. Use a sharp pizza cutter or chef’s knife for the best results.
Conclusion
Making artisan pizza dough from scratch is not only a rewarding experience but also elevates your homemade pizza game. The ability to control every ingredient and step means you can tailor the crust to your exact preferences, achieving the perfect balance of flavor and texture.
Don’t hesitate to experiment with different flavors and toppings; try adding herbs to your dough or incorporating unique cheeses and vegetables for a personalized touch. Enjoying homemade artisan pizza with family and friends creates lasting memories and brings everyone together around the table. There’s nothing quite like the satisfaction of serving up a delicious pizza that you crafted from start to finish. So roll up your sleeves, gather your ingredients, and get ready to enjoy the art of pizza making!