
Introduction
In the world of culinary arts, few things rival the satisfaction of crafting a homemade pizza from scratch. At the heart of this endeavor lies the pizza dough, a fundamental element that transforms simple ingredients into a deliciously satisfying meal. Homemade artisan pizza dough not only elevates your pizza game but also allows you to tailor your creations to your personal taste. Whether you’re aiming for a crisp crust or a chewy texture, mastering the art of pizza dough is essential for achieving restaurant-quality results right in your kitchen.
Homemade dough offers a unique opportunity to explore flavors and textures that pre-packaged options simply cannot match. The process of making artisan pizza dough is not just about following a recipe; it’s about understanding the ingredients and how they interact to create the perfect base for your toppings. In this guide, we will delve into the essential components of artisan pizza dough, their significance, and provide you with a step-by-step approach to making it at home.
Understanding the Ingredients
Creating the perfect artisan pizza dough begins with a careful selection of ingredients. Each component plays a crucial role in determining the flavor, texture, and overall quality of the dough. Here’s a closer look at the key ingredients that will help you achieve that coveted artisanal quality.
All-Purpose Flour
The cornerstone of any pizza dough is the flour you choose. All-purpose flour is often the go-to choice for home cooks, providing a balance of protein that contributes to the dough’s structure and elasticity. The protein content in flour is vital; it forms gluten when mixed with water, which gives the dough its chewiness and strength. For those looking for a more authentic artisan touch, consider using bread flour. With a higher protein content, bread flour yields a chewier crust and a more robust flavor, making it an excellent option for pizza enthusiasts.
The Role of Yeast
Yeast is the magical ingredient that brings your pizza dough to life. Instant yeast, in particular, is favored by many bakers for its convenience. Unlike active dry yeast, instant yeast does not require proofing in warm water before mixing, making it easy to incorporate directly into your dry ingredients. This yeast works by fermenting the sugars present in the dough, producing carbon dioxide that causes the dough to rise. The fermentation process not only affects the rise but also enhances the flavor, giving your crust a delightful depth.
Warm Water: The Catalyst for Activation
Water is another critical ingredient in your dough-making process. The temperature of the water is paramount; it should ideally be warm, around 100°F to 110°F (37°C to 43°C). This warmth activates the yeast, kick-starting the fermentation process. If the water is too hot, it can kill the yeast, while too cold water will not activate it effectively. Using the right temperature ensures that your yeast works optimally, resulting in a dough that rises beautifully.
Sea Salt and Sugar: Balancing Flavor
Salt is often overlooked in the dough-making process, yet it plays a crucial role in enhancing the flavor of your crust. It helps to control yeast activity, ensuring a balanced fermentation process while also imparting a subtle flavor that elevates the overall taste of the pizza. Sugar, on the other hand, acts as a food source for the yeast, aiding in fermentation and browning during baking. A small amount of sugar in your dough can help achieve a nice golden crust while adding a hint of sweetness.
Olive Oil: Adding Moisture and Flavor
Incorporating olive oil into your pizza dough not only enhances its flavor but also contributes to its overall texture. Oil helps to create a tender crumb by coating the flour proteins, preventing excessive gluten formation. This leads to a softer, more pliable dough that is easier to stretch and shape. Additionally, the flavor of high-quality olive oil adds a rich, aromatic quality to your crust that pairs beautifully with your favorite toppings.
Cornmeal: The Unsung Hero
While often forgotten, cornmeal plays an essential role in the pizza-making process. It serves a dual purpose: as a surface for dusting your pizza peel to prevent sticking and as a textural element that adds a delightful crunch to the bottom of your crust. When sprinkled onto your baking surface, cornmeal provides a barrier that allows your pizza to slide off easily while also enhancing the overall eating experience with its slightly gritty texture.
Step-by-Step Guide to Making Artisan Pizza Dough
Now that you have a solid understanding of the ingredients that make up artisan pizza dough, let’s dive into the step-by-step process of making it. This guide will walk you through each stage, ensuring that you create a dough that is both flavorful and easy to work with.
Preparing the Yeast Mixture
To start, you’ll need to prepare your yeast mixture. If you’re using instant yeast, there’s no need for prior activation, but it’s still beneficial to mix it with warm water to ensure even distribution. Here’s how to do it:
1. Measure the Warm Water: Begin by measuring out the appropriate amount of warm water (100°F to 110°F) required for your recipe.
2. Mix with Yeast: In a large mixing bowl, combine the warm water with instant yeast. Stir gently to mix, allowing the yeast to dissolve for a minute or two. This helps to ensure that the yeast is evenly distributed in the water.
3. Let It Rest: Allow the mixture to rest for about 5 minutes. During this time, you should see some bubbles forming, indicating that the yeast is active and ready to work.
Combining Dry and Wet Ingredients
With your yeast activated, it’s time to bring together your dry and wet ingredients.
1. Mix Dry Ingredients: In a separate bowl, combine your all-purpose flour (or bread flour), sea salt, and sugar. Use a whisk to ensure that the ingredients are well combined and evenly distributed.
2. Incorporate the Wet Ingredients: Gradually add the yeast mixture to the bowl of dry ingredients. If you’re using olive oil, you can add it at this stage as well. Mix with a wooden spoon or spatula until the dough begins to come together.
3. Avoid Over-Mixing: It’s crucial to mix just enough to combine the ingredients. Over-mixing can lead to tough dough, so be gentle as you incorporate.
The Kneading Process
Once your dough has come together, it’s time to knead it. Kneading is essential for developing gluten, which gives the dough its structure and elasticity.
1. Transfer to a Clean Surface: Lightly flour a clean countertop or work surface and transfer your dough onto it.
2. Kneading Technique: Using the heel of your hand, push the dough away from you. Fold it back over itself, give it a quarter turn, and repeat the process. This technique helps to evenly distribute the yeast and develop the gluten structure.
3. Knead for 8-10 Minutes: Continue kneading for about 8 to 10 minutes, or until the dough becomes smooth and elastic. You should be able to stretch it without it tearing, and it should spring back when poked.
4. Check for the Windowpane Test: To determine if your dough is kneaded enough, perform the windowpane test. Take a small piece of dough and stretch it gently between your fingers. If it can stretch into a thin, translucent membrane without breaking, it’s ready for the next step.
This stage sets the foundation for your artisan pizza dough, ensuring that it has the right texture and elasticity to hold up under the weight of your favorite toppings. By following these steps closely, you’ll be well on your way to creating a delicious homemade pizza that rivals your favorite pizzeria.
Stay tuned for the next part of this guide, where we will explore the essential steps for letting your dough rise, shaping it to perfection, and baking it to achieve that golden, crispy crust that makes artisan pizza so irresistible.
The First Rise: Creating the Perfect Environment
The first rise is a crucial step in developing your artisan pizza dough. The yeast needs a warm, draft-free environment to ferment and produce carbon dioxide, which will give your dough the necessary lift and structure. Ideally, your dough should rise in a place where the temperature is between 75°F to 85°F (24°C to 29°C).
To create this perfect environment, you can preheat your oven to the lowest setting for just a few minutes, then turn it off. Place the dough in a lightly greased bowl, cover it with a damp cloth or plastic wrap, and set it inside the warm oven. Alternatively, if it’s a warm day, you can simply leave the dough on your kitchen countertop away from drafts.
Tips on Optimal Rising Conditions and How to Tell When the Dough is Ready
To ensure your dough rises properly, keep an eye on it. The dough should double in size during the first rise, which typically takes 1 to 2 hours. A good indicator that your dough is ready to move on to the next step is the “poke test.” Gently poke the dough with your finger; if the indentation slowly springs back, it’s ready. If it doesn’t spring back at all, it may have over-risen, while a quick spring back indicates it needs more time.
Shaping the Dough for Pizzas
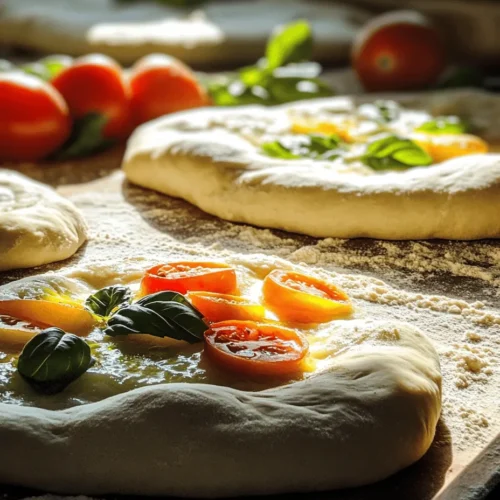
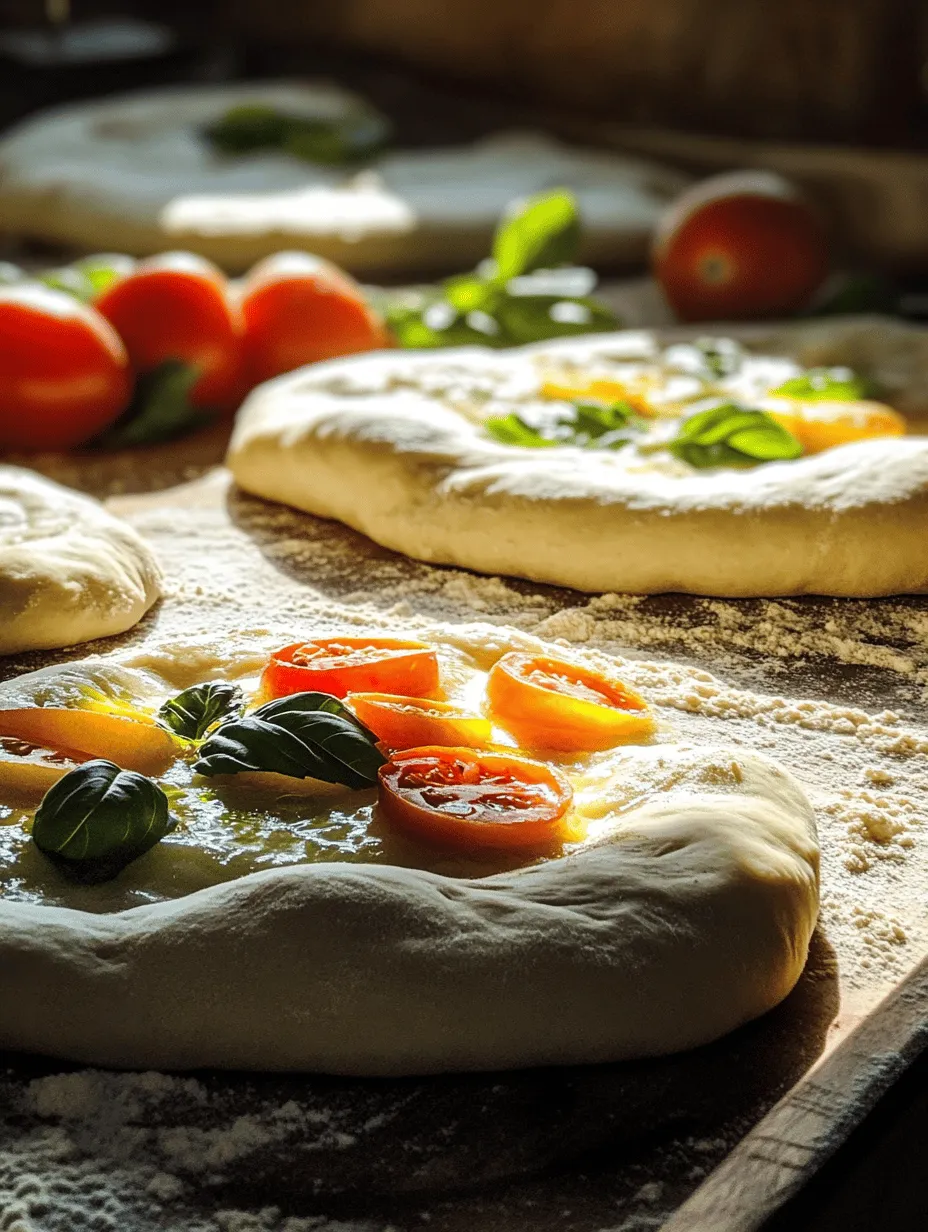
Once your dough has completed its first rise, it’s time to shape it for your pizzas. This is where the real fun begins!
Punching Down and Dividing the Dough
Start by punching down the dough gently with your fist. This action, known as “degassing,” releases excess air that has built up during fermentation. After punching down, turn the dough out onto a lightly floured surface. Use a bench scraper to divide the dough into equal portions, depending on how many pizzas you plan to make. Typically, this recipe yields two large pizzas or four smaller ones.
Understanding the Purpose of Degassing Before Shaping
Degassing is essential because it redistributes the yeast and makes the dough easier to work with. It also helps in achieving a consistent texture throughout the pizza crust. If you skip this step, your crust may end up bubbly and uneven, which can lead to a less-than-ideal final product.
Resting the Dough
After dividing, let each portion rest for about 20 to 30 minutes under a damp cloth or plastic wrap. This resting period is crucial as it allows the gluten to relax. Relaxed gluten is easier to stretch and shape without tearing, resulting in a more evenly baked crust.
Techniques for Stretching and Rolling
Methods to Achieve Desired Thickness and Shape Without Tearing
When it comes to shaping your pizza, you have a couple of options: stretching by hand or rolling with a rolling pin.
1. Stretching by Hand: This is the traditional method that many pizza makers swear by. Start by gently pressing down the dough ball with your fingers to flatten it slightly. Then, using your hands, stretch the dough from the center outward, working your way around the edges. This method helps maintain the air bubbles in the crust, which contributes to a light and airy texture.
2. Rolling with a Rolling Pin: If you prefer a more uniform thickness or are concerned about tearing, using a rolling pin can be effective. Lightly flour your surface and roll the dough out to your desired thickness. Aim for about ¼ inch thick for a classic pizza crust.
Regardless of the method you choose, ensure that the edges of your dough are slightly thicker than the center to create a nice crust.
Baking the Artisan Pizza
With your dough shaped and ready, it’s time to get baking!
Preheating the Oven: Why Temperature Matters
A high temperature is crucial for achieving that perfect artisan pizza crust. Preheat your oven to its highest setting—usually around 475°F to 500°F (245°C to 260°C). If you’re using a pizza stone, place it in the oven while it preheats to ensure it gets hot enough to create a crispy base.
Preparing the Pizza Stone or Baking Sheet
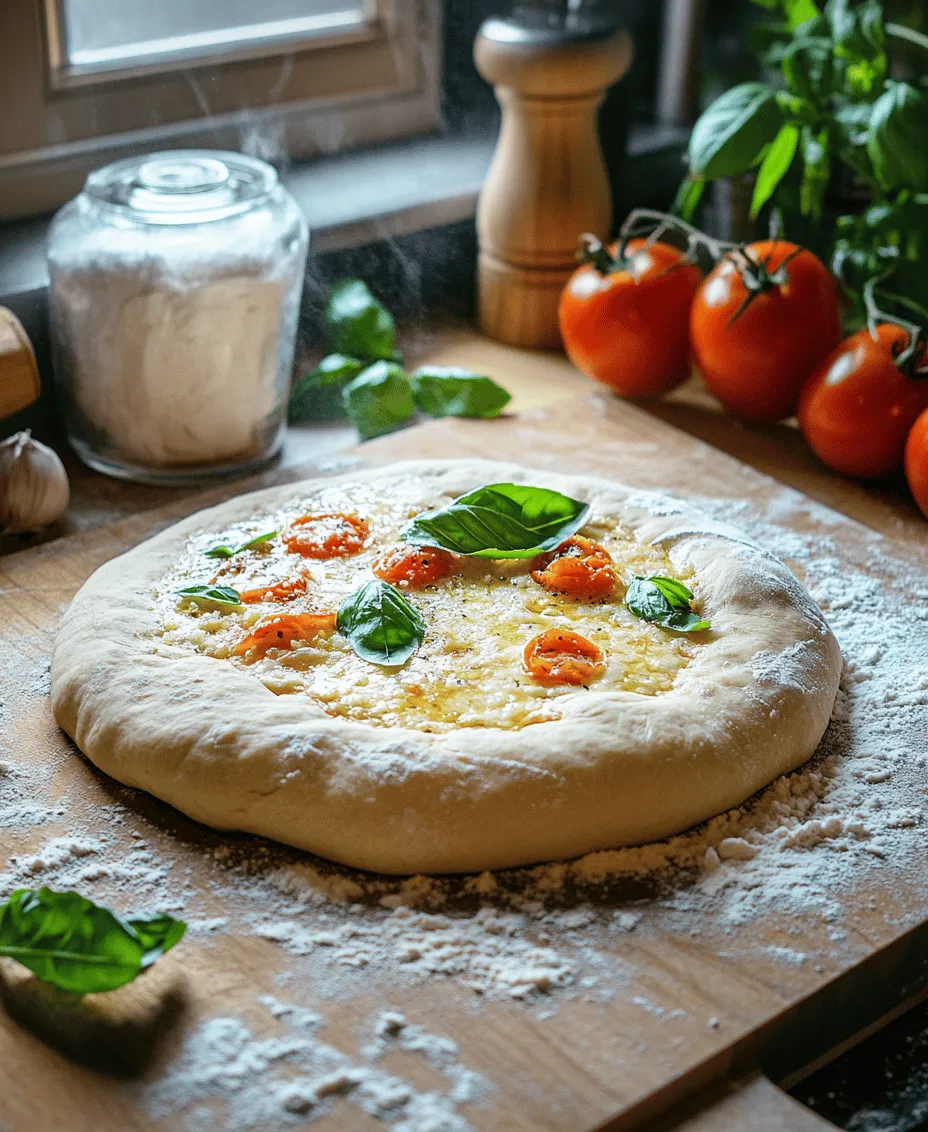
If you’re using a pizza stone, make sure to allow it to heat for at least 30 minutes before baking. This will help the crust cook evenly and prevent sogginess. If you don’t have a stone, a baking sheet will work just fine. For a baking sheet, lightly oil or sprinkle it with cornmeal to prevent sticking.
Choosing the Right Toppings
When it comes to toppings, the sky’s the limit! However, for the best results, consider the following:
– Sauces: Traditional tomato sauce is a classic, but don’t hesitate to experiment with pesto, white sauce, or even a drizzle of olive oil for a more gourmet touch.
– Cheeses: Mozzarella is the go-to cheese for pizza, but mixing in provolone, parmesan, or gouda can elevate your pizza to a new level.
– Toppings: Fresh vegetables, meats, and herbs can all enhance the flavor of your pizza. Consider classic combinations like pepperoni and bell peppers or unique options like goat cheese and arugula.
Baking Process and Achieving the Perfect Crust
Timing and Visual Cues for Doneness
Once your pizza is assembled, carefully transfer it to the preheated oven. Bake for about 10 to 15 minutes, keeping a close eye on it. The pizza is done when the crust is golden brown, the cheese is bubbling, and any toppings appear cooked through.
The Importance of Texture and Flavor Development
As your pizza bakes, the high heat will create a beautifully crispy crust while also allowing the cheese to melt and develop flavor. Look for a crust that is not only golden but also has a slight crunch when you bite into it, paired with a soft interior. If you prefer a more charred flavor, leave it in for an extra minute or two, but be careful not to overdo it.
Conclusion
Making artisan pizza dough from scratch is a rewarding experience that lays the foundation for delicious homemade pizzas. Throughout the process, from creating the perfect environment for rising to mastering the art of shaping and baking, every step plays a crucial role in crafting a delightful pizza.
As you experiment with different toppings and flavors, remember that the beauty of homemade pizza lies in its versatility. Whether you prefer classic combinations or adventurous pairings, your artisan pizza dough will serve as a perfect canvas for your culinary creativity. So roll up your sleeves, gather your ingredients, and get ready to impress your family and friends with your pizza-making prowess!